Saturday, 22 March 2014

Fringed flowers

To make these fringed flowers you will need the following:
 
Ingredients:
Paper strips. I used printer paper scraps for mine. But you can use any strips you have from your paper stash.
A jar lid of some kind for a template. A smallish one is better about 2 inches.
Acrylic paints. Or scrapbooking sprays of your choice. Or Inks too.
Paint brush.
 
Method:
 
 
To begin, place your paper strips around your jar lid. Start in the center and work your way around. First place a dot of wet glue on the base of the lid. Then the top of the paper strip. Continue to add a dob of glue to hold each strip in the centre. Don't use a glue gun as this makes the centre too raised up.


Once finished gently pull off the flower from the lid.

 
By this time you can paint your flowers. Add your bling centers as well. I used flat backed pearls, around 2mm. Once dry cut into the paper strips to start fringing. Cut as far down into the center as possible. You may find it is best to cut the strips a few times to get a nice looking fringe. 


And then fluff up your petals softly and you're done!

 
Have a nice day everyone.

Monday, 17 March 2014

Floral scents


Keep a reminder of Summer at home with the scent of potpourri. Potpourri recipes are infinitely variable and mixtures can be sweet, citrus or with strong spicy accents. Scented sachets, bags and little cushions offer a host of possibilities for using potpourri and the mixtures can also be displayed in pretty bowls.


If you have a microwave you can dry some of your ingredients quickly to make potpourri. 
 

Ingredients:
 
Paper towels.

Heavy microwavable plate or dish.

Blooms of your choice.


Method: 

Pull apart the blooms and place the petals on paper towels. You can stack a few paper towel layers together, I used about three or four together. Place the heavy plate on top of the top layer paper towel. Depending on your microwave the time will be different. For mine I used a minute or so (maybe about two mintues) on high. Checking regularly to see how the petals were drying. You’re aiming for a papery feel to the petal blooms when they cool down. The ones on the bottom layer might need a bit longer because it does ‘steam’. Test and try until you are getting the finished dryness.


Mix your bloom into a nice scent. I used Rose petals. Calendula. Mint. Rosemary. Scented Geranium. Thyme. And Heliotrope in my mix.


When finished display in pretty bowl.


Or, make up lovely little sachets from remants of old lace, vintage doileys, and other materials for gifts or to place in your clothes drawers. If you don't want to make a potpourri the petals dried in this way can also be used in pressed flower arrangements.
 
I hope everyone is having a good day!


Wednesday, 12 March 2014

Miss Cicely - Vintage camera storage photo box


I've been working on this paper project and finally finnished it. I think it turned out rather well. The project will probably store some photos, letters, or cards in the back. The front is for some photo storage in the pockets and journalling or photos on the tags.


All of the items are recycled cardboard, and items from my stash. I used a mailing box for the main part and envelopes for the front.  The ' camera lens' is a toilet roll cut down to size. Inside the 'camera lens' is a vintage image of a little girl.

 
My vintage images come from here.


The papers I used for the project is Sweet Nothings by Kaiser Craft.

 
The Lady stamp is from a Flonz stamp set and the script Stamp is from Kaiser Craft. I have a video up for the project on my youtube channel if you want to watch as well.
 
I'm entering this project in the Vintage Stamping Challenge for Flonz Stamps
 
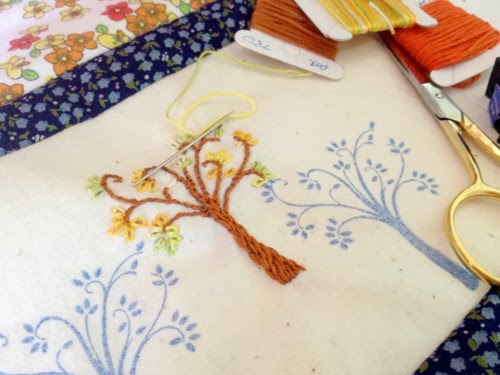
Now onto some stitching.
 
Have a happy day everyone.


Monday, 10 March 2014

leafy things


The weather has turned more and more towards Autumn with rainy days and foggy mornings. With the drizzly weather out I've turned my hand towards stitching to make a frugal thrify cushion from my sewing stash.
 
 
I like the idea of combining two or more of my hobbies together. The UK magazine Get Stamping inspired this cushion and I used the free stamps from the magazine to create the project. The issue is an older issue so not sure if you can still get the first issue which is where this project came from. I no longer buy magazines new as they are too expensive. Because I used what I had I didn't follow the instructions too closely or used the colours they did. I used the colours to match the material I did have, and as always the material is thrifty store finds. Now I have a snuggly cushion to lean against while I crochet away.


I've been thrifting too on fine days, though not much is about to want me to take home. I do buy a few little things. And of course there is sketching away in my sketch books and more mini album things I am making. I hope to get a video up soon of the current storage box idea for photos I did. More on that later!

Have a good day everyone.